 Ampliflare Audio Guide
 How to Reduce Breathing Sounds in a Microphone Recording
Reduce breathing sounds in a voice recording: keep the mic off to the side, take out the room noise, and lower the breaths that are left. All offline, on your own computer.

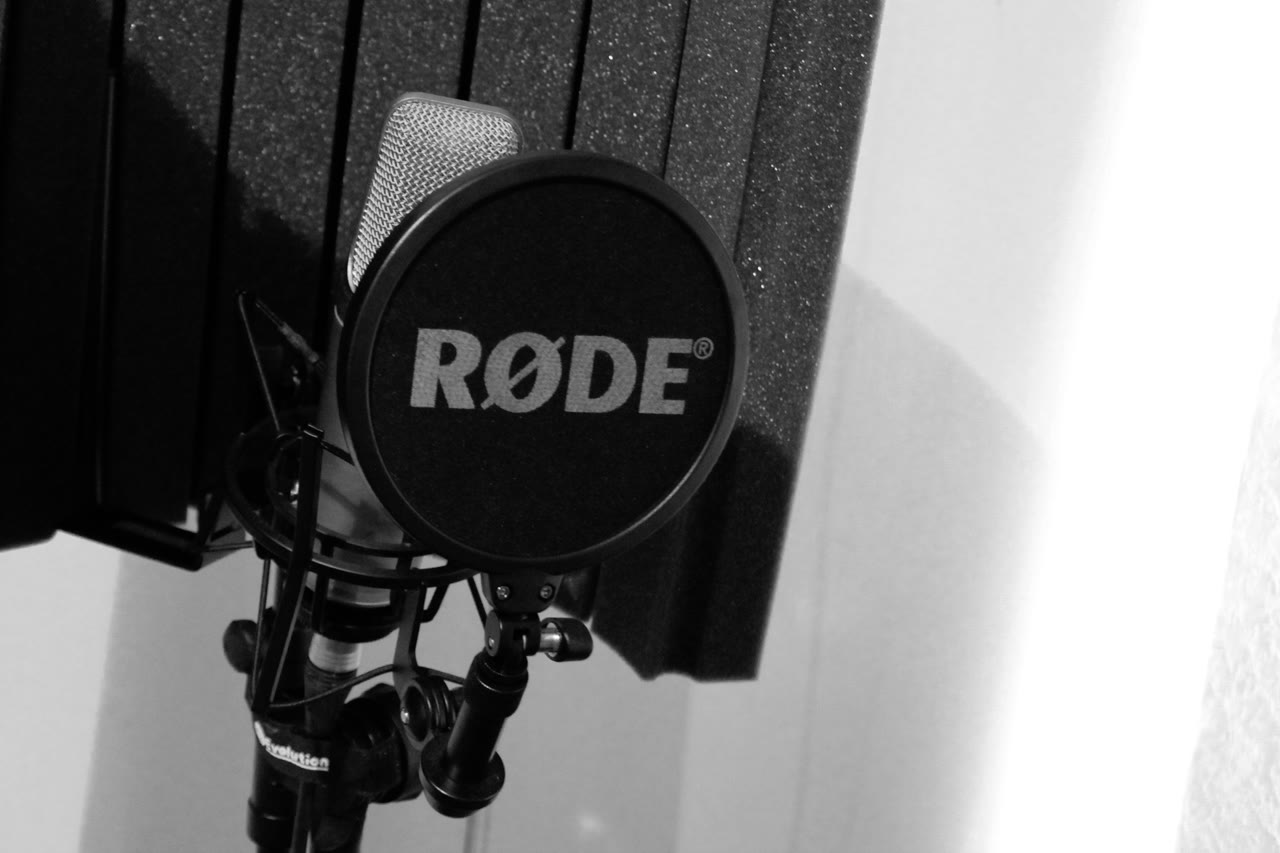
Breathing is the sound listeners notice most: the intake before a sentence, the sigh after it. It is also the most fixable. The fix has two parts. Keep your breath off the microphone capsule in the first place, and lower the breaths that still get recorded.
This guide uses Ampliflare Audio, which purplecandy makes, for the cleanup pass. It runs on your computer, works offline, and is free for personal use (up to 20 files a week). The fine breath edits happen in any audio editor.
What you need
- The recording, in a common format: wav, mp3, m4a, flac, ogg, opus and more.
- Ampliflare Audio for macOS, Windows or Linux. It brings its own ffmpeg, so nothing else to install.
- An audio editor for the small edits. Audacity is free and runs on all three systems.
1. Keep your breath off the capsule
Most breath noise is recorded, not added later. A microphone pointed straight at your mouth sees your breath as a packet of air hitting the capsule. Small changes to the setup remove most of it:
- Move the mic off to the side. Point it slightly off-axis, so your breath passes the capsule instead of hitting it head on. Mouth to one side of the mic, not straight in front.
- Keep a few inches of distance. Closer is louder for everything, breath included. One hand’s width between you and the mic is a good start.
- Add a pop filter. The cloth screen between you and the mic spreads the air burst before it reaches the capsule. It fixes plosives (p and b sounds) too.
- Turn the gain down to what you actually need. A hot input makes breaths louder along with your voice.
- Breathe away from the mic. Turn your head for the big intake before a long sentence. It sounds odd at first and becomes natural fast.
These fixes cost nothing and they work on every recorder, not just a computer. The next section is for breaths already in the file.
2. Take the room noise out first
Clean the bed underneath before you edit breaths. With fans, hum and room tone in the way, you cannot hear which soft sounds are breaths and which are noise.
In Ampliflare Audio, drop the files on the window, pick Remove noise in the sidebar, and keep Strength at a level that keeps the voice natural. Click Run. Your originals are never changed; results are new files next to them.
3. Lower the breaths that are left
Open the cleaned file in your audio editor. The breaths sit between phrases, visible as small bumps in the waveform. For each one:
- Click and drag across the breath to select it.
- Choose Effect → Amplify and set it below zero, like -12 dB, to make the breath quieter instead of removing it. A tiny bit of breath sounds natural. Or press Delete to remove it completely.
- Play the sentence back. The breath should sit under the first word of the next phrase, not pop over it.
When the recording has breaths everywhere, an automatic tool saves time: iZotope RX Breath Control, part of the paid RX suite, detects breaths and lowers them to a level you set.
4. Trim breaths at the edges of a clip
When a breath sits at the very start or end of a file, Ampliflare Audio’s Cut tool removes it without an editor. Select the file, pick Cut in the sidebar, then drag the two handles so the part you want to keep sits between them. The tool keeps only what is between the handles, so a breath at the start goes when the first handle moves past it. Click Run and check the result with the play button.
Cut works on one file at a time, and it is exact: the part outside the handles is gone. For a breath in the middle of a sentence, use step 3 instead, so the words around it stay.
When it won’t help
- Breaths that are part of the performance. Some narrators and podcasters keep soft breaths on purpose; a fully de-breathed read sounds edited. Lower them a little, do not delete everything.
- Clipping. If the breath overloaded the input and clipped, no cleaner can rebuild the waveform. Lower the gain next time.
- Music. Remove noise is tuned for speech. On music it can take out more than you want; try a lower Strength or skip it.
- Wind. A pop filter spreads breath, but it is not a windscreen. Outdoor gusts need a furry windscreen on the mic.
Takeaways
- Fix the mic first: off-axis, a few inches away, gain at what you need.
- Remove the room noise before you edit, so you can hear what is breath.
- Lower breaths to a natural level or delete them, one at a time, in an editor.
- Trim breaths at the edges of a clip with Ampliflare Audio’s Cut tool.
Questions
Why does my microphone pick up my breathing?
Usually placement. A condenser mic aimed straight at your mouth records your breath as a directed air burst. Move the mic off to the side of your mouth and a few inches away, and most of the breath sound disappears.
Does noise removal remove breathing sounds?
No. Breath is part of the voice signal, so a speech-trained cleaner like Ampliflare Audio's Remove noise leaves it in. Remove noise takes out the room tone underneath, which makes the breaths easier to hear and edit.
Can I remove breaths automatically?
Yes, dedicated de-breath tools such as iZotope RX Breath Control detect breaths and lower them. RX is paid. By hand, select each breath in an audio editor and lower its gain, which is free and works on any processor.
Read next
 Best Sound Repair Software for Damaged RecordingsRepair recorded audio by matching the damage to the tool: steady hiss and hum, clicks and crackle, or clipped peaks. Four picks compared, free and paid, October 2026.
 Mic Enhancer Software: Make a Voice Recording Sound BetterMic enhancer software fixes what makes a recording sound cheap: it takes out noise and rumble, evens the level, and sets it for where it plays. Here is the whole job, offline.
 Audio Leveler: How to Even Out a Recording's VolumeAn audio leveler matches a recording's loudness to where it plays: a podcast, audiobook, music streaming or broadcast. Here is the job, in Ampliflare Audio, offline.