 Ampliflare Audio Guide
 Audio Leveler: How to Even Out a Recording's Volume
An audio leveler matches a recording's loudness to where it plays: a podcast, audiobook, music streaming or broadcast. Here is the job, in Ampliflare Audio, offline.

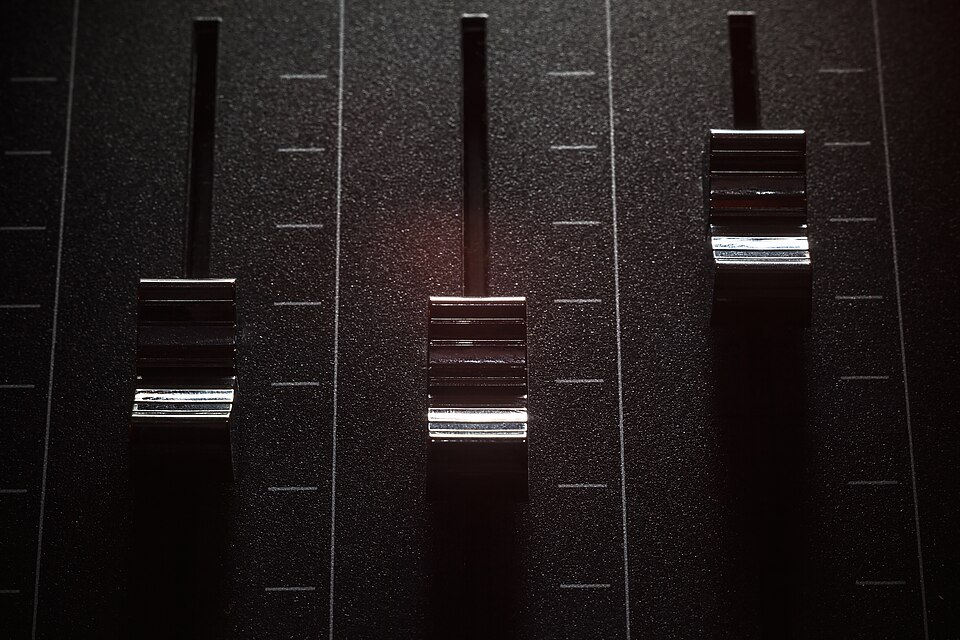
An audio leveler evens out a recording’s volume so it sits at the level the destination expects. The symptom it fixes is familiar: an episode recorded at a quiet level, a YouTube voiceover that dips under the music, a file that sounds weak next to anything else on the same platform.
Leveling is loudness matching, not peak pushing. The tool measures how loud the whole file sounds, weights it the way human hearing does, and adjusts the gain to hit a target. Platforms do this to everything they receive, so a file far from the target gets turned down or sounds thin next to its neighbors. Doing it yourself before you publish means you hear and control the result, and it runs on your own computer with nothing uploaded.
These steps use Ampliflare Audio, which purplecandy makes. It works offline, and its Enhance tool levels in one step. The controls below are from version 1.1.0.
What you need
- The recording in a common format: wav, mp3, m4a, flac, ogg, opus and more.
- Ampliflare Audio for macOS, Windows or Linux. Everything it needs comes inside the app, so there is nothing else to install.
- A reference if you have one: a published episode or track that sounds the way you want yours to sound.
1. Add the recording
Drop the files on the window, or click Open Files…. You can add a whole session at once; every tool except Cut and Split runs on the full list.
2. Remove the noise before you level
Pick Remove noise in the sidebar (it is first). The model is trained on human speech, so it keeps the voice and drops the steady sounds under it: a fan, mains hum, traffic, room tone. The Strength slider decides how much of the original room stays.
Fix the noise before the level. Raise the volume first and you raise the noise along with the voice. The background noise guide walks through this tool on its own.
3. Run Enhance and pick the destination
Select the cleaned files and run Enhance. Pick where the audio is going: a podcast, an audiobook, music streaming or broadcast. Enhancement sets the loudness each one expects and clears away the low rumble mics pick up from desks and traffic.
The four destinations are the targets that matter in practice. Podcasts sit near -16 LUFS (Apple’s recommendation), music streaming near -14 LUFS, and broadcast audio at -23 LUFS; audiobook platforms use their own evenness standard. The LUFS explainer has the numbers and the standards behind them.
At the bottom, choose where the results go: next to the originals (the default) or a folder you pick. Then click Run. New files get the old name plus what was done, like episode-12-leveled.wav.
4. Check the result against a reference
In 1.1.0 every file in the list has a play button and a seek bar, so you can hear the take before and after. The Activity button, at the right of the bottom bar, lists everything you made in the session, and each file still on disk can be played again.
Play the leveled file next to your reference. The voice should sit in the same loudness range, with the same headroom for music and effects. If the file sounds robotic or hollow after noise removal, back Strength off in step 2 and run it again; why noise reduction makes a voice sound robotic covers what to listen for.
5. Convert for where it is going
Convert writes the format the editor or platform expects: mp3 for most podcast hosts, m4a for audiobook apps, wav or flac for an archive. The full task from start to finish is in the complete guide to cleaning up spoken audio; the everyday three-fix version is the mic enhancer guide.
When it won’t help
- Live calls and streams. Ampliflare Audio works on files after you record. Leveling your voice on a live call needs an app sitting in the audio path in real time.
- A capture with clipped peaks. If the loudest moments were cut off while recording, no amount of gain adjustment rebuilds the waveform. Lower the input level and record again.
- One destination for everything. A file sent to music streaming after being leveled for broadcast will be turned down by the platform. Level for the place the file will actually play.
- A bad recording under the level. Loudness matching fixes volume, not quality. A muffled or echo-heavy take stays muffled; fix mic placement first, as the podcast recording checklist explains.
Takeaways
- An audio leveler matches the whole file to a loudness target; it does not just push peaks up.
- Clean the noise before you raise the level, or you raise the noise with it.
- Enhance’s destinations (podcast, audiobook, music streaming, broadcast) each expect a different loudness.
- Compare the leveled file against a reference you trust, not against silence.
- Your originals are never changed, so you can level again without redoing the session.
Questions
What does an audio leveler do?
It measures how loud the whole file sounds and adjusts the gain so it matches a target loudness. That is why one leveled file sounds at home next to another on the same platform.
Is an audio leveler the same as normalizing?
Leveling is the version that matters: it adjusts to a loudness target, the way platforms do. Plain peak normalization only scales to the highest peak, which can leave a file sounding quiet next to others.
Is audio leveling software free?
Ampliflare Audio is free for personal use with every feature, up to 20 files a week. A license from $5 adds commercial use and removes the limit.
What loudness should a podcast be?
Apple recommends -16 LUFS for podcasts, Spotify normalizes music to -14 LUFS, and broadcast targets -23 LUFS. The destination presets in Ampliflare set the level each one expects.
Read next
 Best Sound Repair Software for Damaged RecordingsRepair recorded audio by matching the damage to the tool: steady hiss and hum, clicks and crackle, or clipped peaks. Four picks compared, free and paid, October 2026.
 Mic Enhancer Software: Make a Voice Recording Sound BetterMic enhancer software fixes what makes a recording sound cheap: it takes out noise and rumble, evens the level, and sets it for where it plays. Here is the whole job, offline.
 How to Reduce Breathing Sounds in a Microphone RecordingReduce breathing sounds in a voice recording: keep the mic off to the side, take out the room noise, and lower the breaths that are left. All offline, on your own computer.