 Ampliflare Audio Guide
 8 Things Every YouTuber Should Fix in Their Audio Setup
Eight audio fixes that make a video watchable: room noise, loudness near -14 LUFS, true peak, steady levels, and an export YouTube accepts. One offline app does the cleanup.

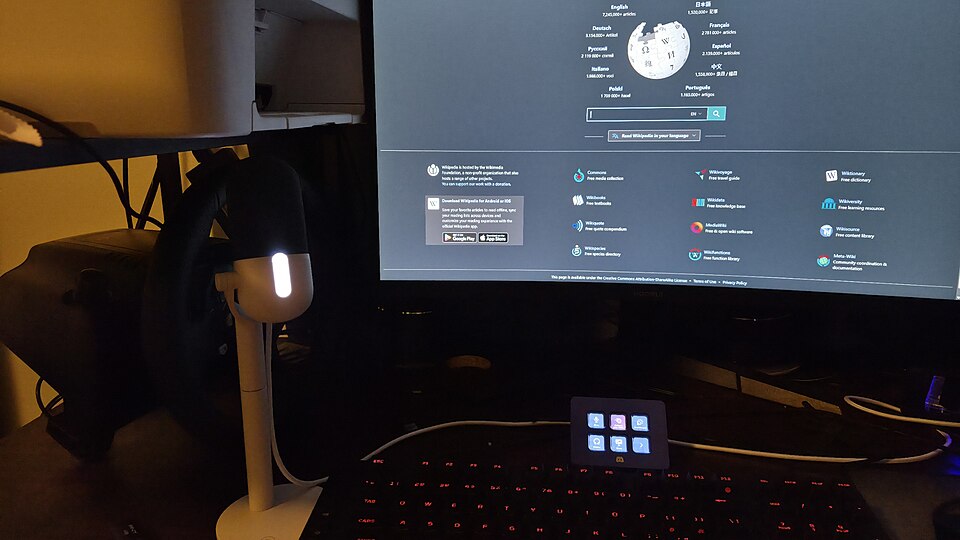
Viewers forgive shaky video long before they forgive bad audio. A fan in the background, a voice too quiet, a level that jumps between cuts: each one is a reason to click away in the first minute. The fixes below cover the common ones, in the order to do them, with the exact controls.
The cleanup tool used here is Ampliflare Audio, which purplecandy makes. It runs offline, nothing is uploaded, and it is free for personal use up to 20 files a week.
What you need
- The audio track of your video, exported from your editor as a file.
- Ampliflare Audio for noise, loudness and conversion. The getting started docs cover install on Windows, macOS and Linux.
- Headphones. The same pair every time, so your judgment stays consistent.
1. Fix the room, not the take
The cheapest improvements happen before you record. Record in the smallest, softest room you have: soft furnishings cut echo. Put the mic a hand’s width from your mouth, slightly off-axis, so plosives hit the side of the capsule instead of the front.
Record ten seconds of silence before you speak. That room tone is what a noise remover needs to know what to take out. The podcast recording checklist covers the same ground in one page.
2. Watch the levels while recording
Keep peaks away from the top of the meter. A recording that is too quiet can be made louder later. A clipped one cannot be fixed at all: the top of the waveform is gone, and no cleanup tool rebuilds it.
If your editor shows a loudness meter, keep the voice averaging around −16 LUFS while you record. That leaves room for the master below.
3. Pull the noise out of the recording
Fans, hum, traffic, a buzzing fridge: easy to miss under speech, obvious in the quiet parts. In Ampliflare Audio, pick Remove noise and set the Strength slider. Start low and raise it only until the gaps between words are clean. Your originals are never changed, so it is safe to try two settings and compare.
The full step-by-step, including where the results go, is in the noise removal guide.
4. Set the loudness near YouTube’s target
Loudness is how loud audio sounds on average, measured in LUFS. YouTube normalizes uploads to about −14 LUFS: louder videos get turned down, quieter ones play as-is next to everything else.
In Ampliflare Audio, Enhance evens out loudness and picks the level by destination. The Music streaming preset lands near −14 LUFS, which is the YouTube neighborhood. Run it on the cleaned file.
5. Keep true peak under −1 dBTP
True peak is the loudest instant in the decoded file. Encoding to AAC or mp3 can push a signal that sits at the ceiling into clipping, so leave headroom. If your editor has a true peak meter, the loudest moment should stay under −1 dBTP. If it has no meter, pull the loudest section down by a couple of decibels before you process.
Check true peak on the file you will actually upload, not just the timeline. Encoding changes the signal in small ways.
6. Keep the voice steady across the whole video
A level that changes between cuts is as jarring as background noise. If one section is quieter than the rest, fix the loudness over the whole file so nothing jumps out.
Every tool in Ampliflare except Cut and Split runs on the whole list at once, so you can drop in every section of the video and level them together. Batch is usually the fix: the file that came out quiet next to one that came out loud gets noticed only after upload.
7. Export the format YouTube accepts
YouTube’s upload encoding notes recommend AAC-LC or Opus audio. Stereo at 384 kbps is the recommended bitrate; mono at 128 kbps is the floor for speech. Both are comfortably above what a voice needs.
Ampliflare’s Convert writes AAC, mp3, wav, m4a, flac, ogg and opus, among others. Pick AAC for YouTube. Everything needed to convert comes inside the app.
8. Listen to the finished file on headphones
The exported file is what viewers hear, so listen to a minute of it before you upload, on headphones, without watching the screen. Your eyes fill in what your ears should catch. Fix anything odd in one pass, then listen to just those spots again.
When it won’t help
- Music-heavy videos. Remove noise and Enhance are tuned for speech. For music, follow the platform loudness target and skip noise reduction.
- A bad take. Plosives against the mic, clipping, or a room that echoes badly: cleanup takes noise out, it does not rebuild the recording. Fix those at the source.
- Video work itself. Ampliflare is an audio app. Clean the audio, then put it back in your editor and check that it still lines up with the picture.
For the wider workflow, the complete guide to cleaning up spoken audio ties the audio posts together, and the export checks apply to podcast-style videos too.
Takeaways
- Fix the room first: soft room, close mic, ten seconds of room tone.
- Keep peaks off the ceiling while recording. Clipping cannot be fixed later.
- Remove noise before loudness, and use the lowest strength that works.
- Target about −14 LUFS, keep true peak under −1 dBTP, and export AAC.
- Listen to the exported file on headphones before you upload.
Questions
What LUFS should YouTube audio be?
Around -14 LUFS integrated. YouTube normalizes everything to about that level, so audio far above it gets turned down and audio far below it sounds weak next to other videos.
Can Ampliflare Audio clean audio inside a video file?
No. Ampliflare works on audio files. Export the audio track from your editor, clean it, then put it back on the timeline.
Is Ampliflare Audio free to use for YouTube?
It is free for personal use, up to 20 files a week. A license from $5 covers paid work and removes the weekly limit.
Read next
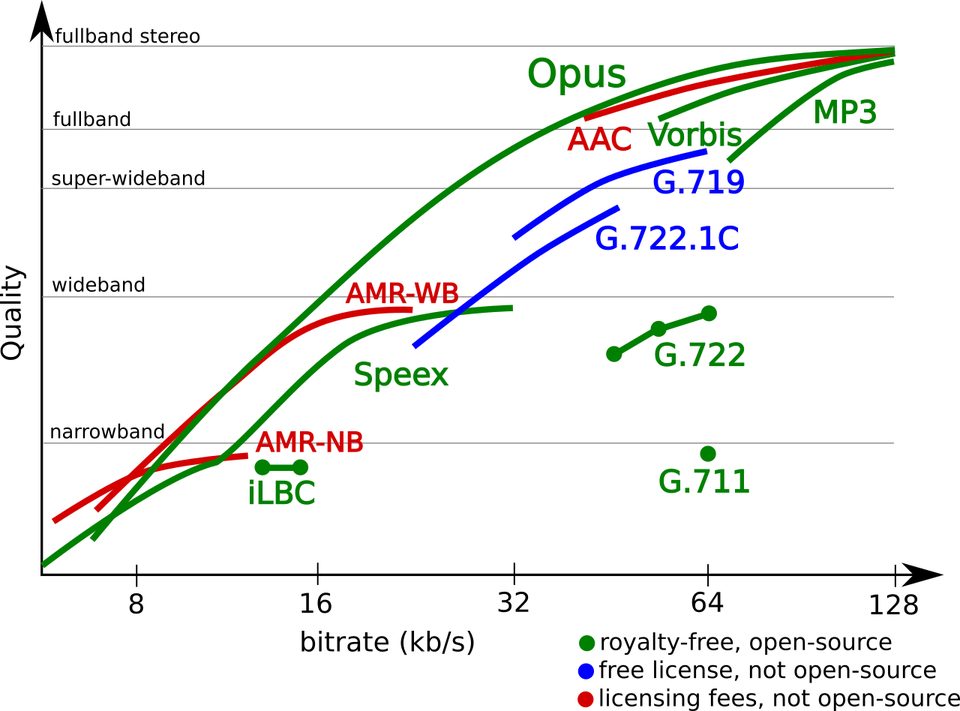 What Is an Opus File? The Audio Codec ExplainedOpus is an open audio format that sounds better than MP3 at the same file size. Here's what it is, where you'll meet it, and how to open and convert it.
 Best Sound Repair Software for Damaged RecordingsRepair recorded audio by matching the damage to the tool: steady hiss and hum, clicks and crackle, or clipped peaks. Four picks compared, free and paid, October 2026.
 Mic Enhancer Software: Make a Voice Recording Sound BetterMic enhancer software fixes what makes a recording sound cheap: it takes out noise and rumble, evens the level, and sets it for where it plays. Here is the whole job, offline.